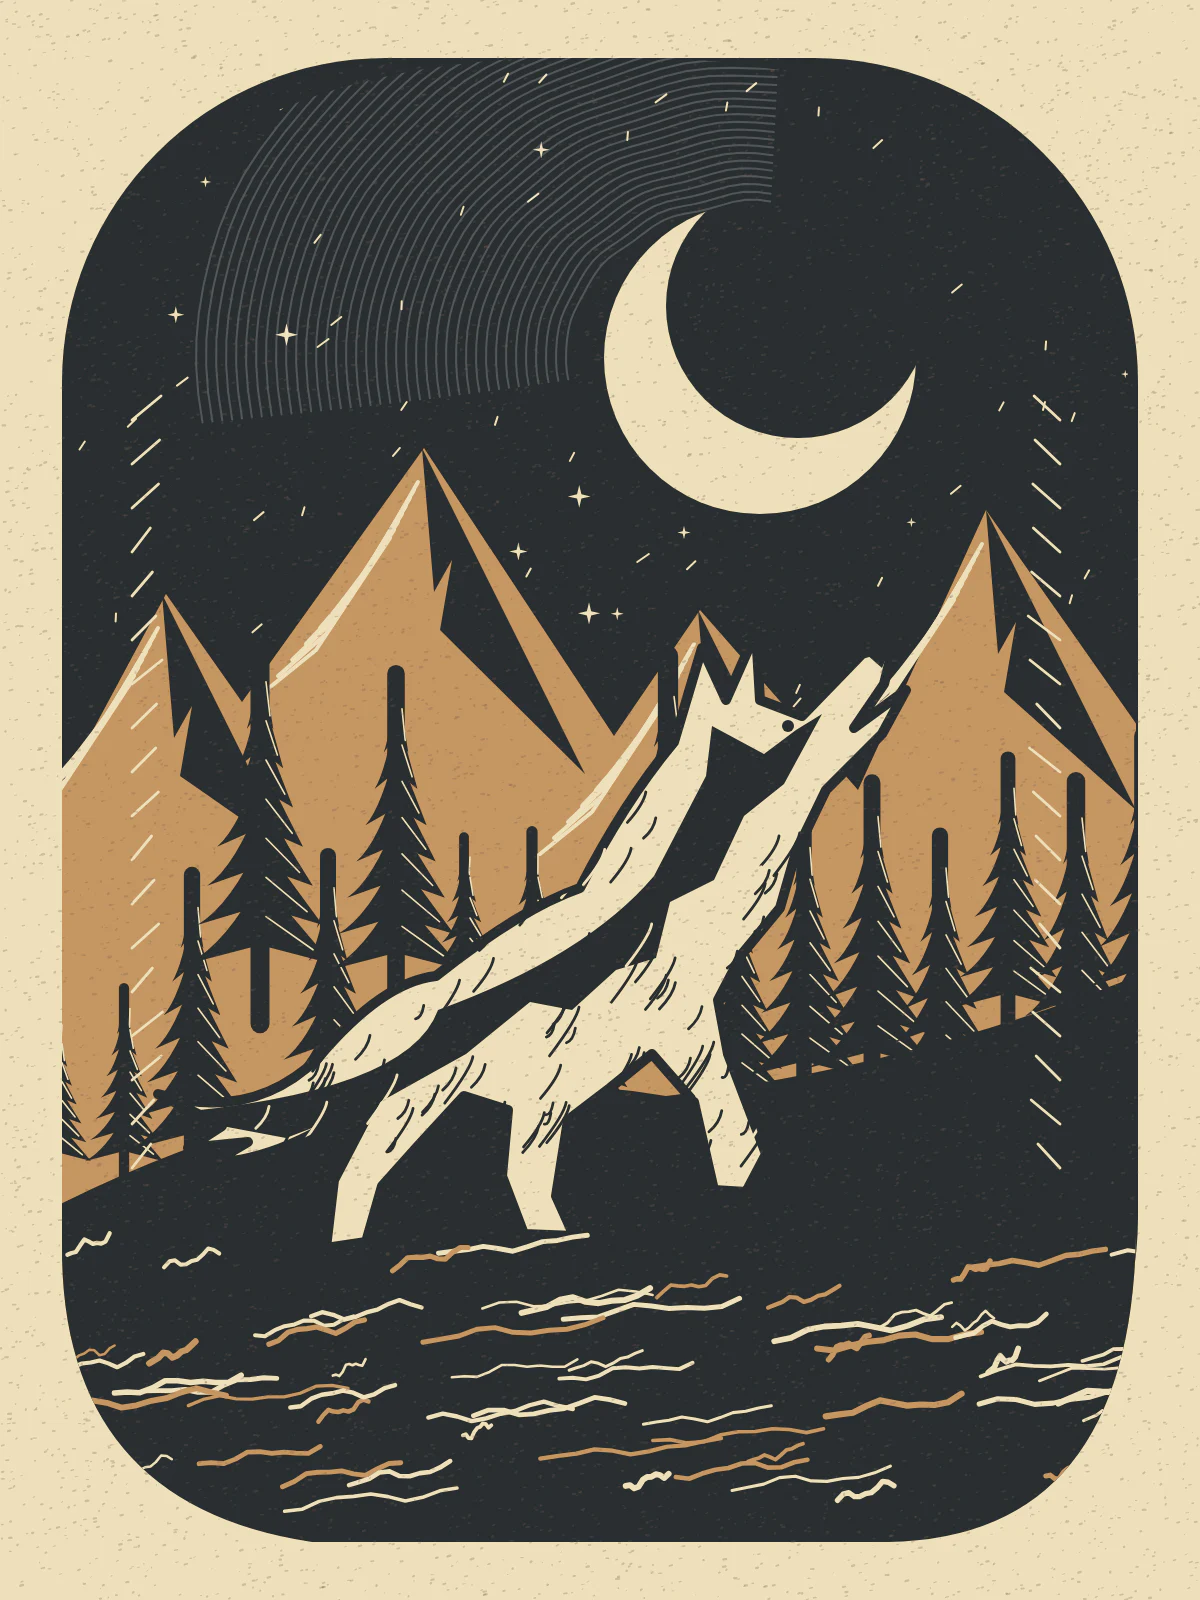
How do you design a linocut with two clear tones?
- 01
Describe the silhouette
Frame one subject with a strong silhouette and a simple background.
- 02
Generate a print study
Choose the print style and follow the direction of the carved marks.
- 03
Try the opposite polarity
Swap ink and paper colors to see which outline reads best.
How can you plan the direction of the carved marks?
Begin with a recognizable silhouette, such as a bird on a branch. Decide whether the subject should read as dark ink on pale paper or as a pale shape surrounded by ink. That choice changes where you need space between the marks.
Pick a large contour, then ask nearby marks to follow it. On fur, taper the strokes toward a shoulder or paw. For a landscape, choose strokes that describe the slope of the land. The carved marks should explain the form even when the palette is reduced.
- Fox in winter
- A fox curls around its tail in an oval frame. Let long curved cuts follow the arc of its back, with one solid dark ear and a small pale patch at the nose. Leave the snow nearly bare.
- Harbor wall
- A lighthouse rises above a dark sea wall. Use long horizontal cuts for the water and short angled cuts for the stone. Keep the sky as a single unbroken area so its edge reads across the room.
Which marks should survive a small print?
Set the image beside a sketch of the physical block at its actual size. Digital hairlines that look attractive on a bright display can merge when ink reaches the paper.
| Part of the image | Check before transfer |
|---|---|
| Solid silhouette | The nose, ear or wing should still read when interior textures are partly hidden. |
| Carved lines | Create enough space between neighboring strokes for the gouge and paper you plan to use. |
| Light and dark | Inverting the colors exchanges their tonal roles. It does not reverse lettering from left to right. |
How should lettering be prepared for a real block?
Make a separate mirrored transfer if the final impression needs readable lettering. Print a paper mockup first, mark the areas you intend to leave raised and pull a proof with your chosen ink before carving a final edition.